CERAMIC HOUSE NUMBERS HAND PAINTED

Featured products
-
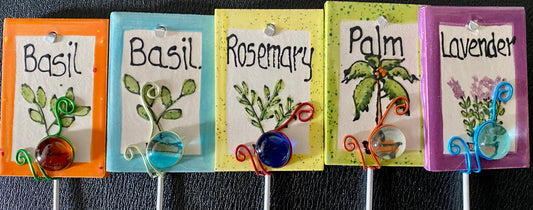
GARDEN MARKERS
Vendor:CERAMIC HOME DECOR / GARDEN DECORRegular price $9.00 USDRegular priceUnit price per -
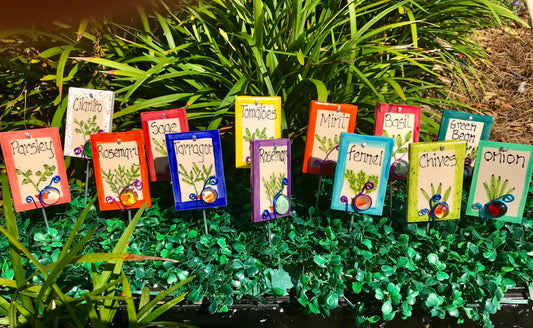
GARDEN MARKERS IN CERAMIC HAND PAINTED.
Vendor:CERAMIC HOME DECOR / GARDEN DECORRegular price $11.00 USDRegular priceUnit price per -
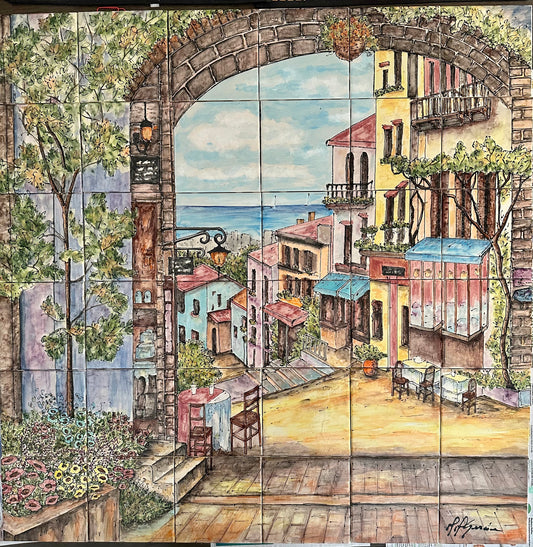
MOSAIC IN CERAMIC HAND PAINTED.
Vendor:My StoreRegular price $995.00 USDRegular priceUnit price per
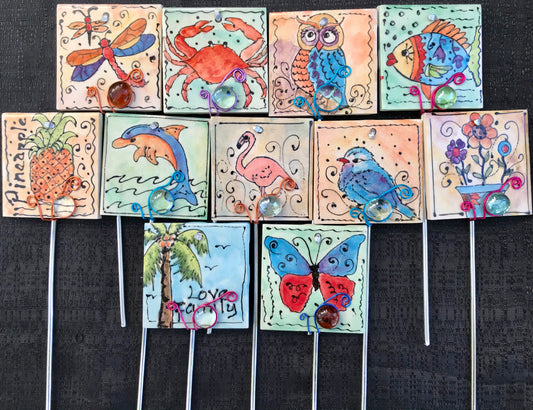


SEA LIFE HAND PAINTED ON CERAMIC OUTDOOR / INDOOR, CUSTOM ORDERS. COMMITIONS.
